Introduction to Django & Django Configuration with Apache Web Server
Introduction
Django is a web application framework written in Python programming language. It is based on MVT (Model View Template) design pattern. The Django is very demanding due to its rapid development feature. It takes less time to build application after collecting client requirement.
This framework uses a famous tag line: The web framework for perfectionists with deadlines.
By using Django, we can build web applications in very less time. Django is designed in such a manner that it handles much of configure things automatically, so we can focus on application development only.
History
Django was design and developed by Lawrence journal world in 2003 and publicly released under BSD license in July 2005. Currently, DSF (Django Software Foundation) maintains its development and release cycle.
Django was released on 21, July 2005. Its current stable version is 2.0.3 which was released on 6 March, 2018.
Popularity
Django is widely accepted and used by various well-known sites such as:
- Mozilla
- Disqus
- Bitbucket
- The Washington Times
Features of Django
- Rapid Development
- Secure
- Scalable
- Fully loaded
- Versatile
- Open Source
- Vast and Supported Community
Django Project
Now, we will learn step by step process to create a Django application.
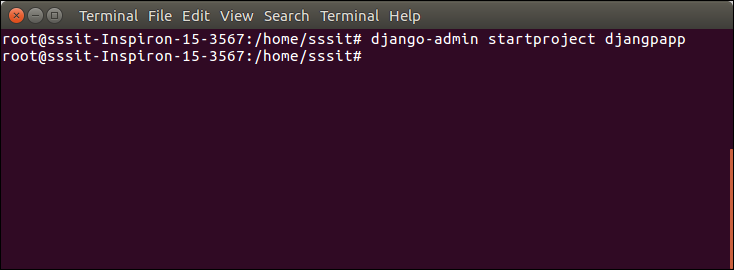
To create a Django project, we can use the following command. projectname is the name of Django application.
Django Project Example
Here, we are creating a project djangpapp in the current directory.
Locate into the Project
Now, move to the project by changing the directory. The Directory can be changed by using the following command.
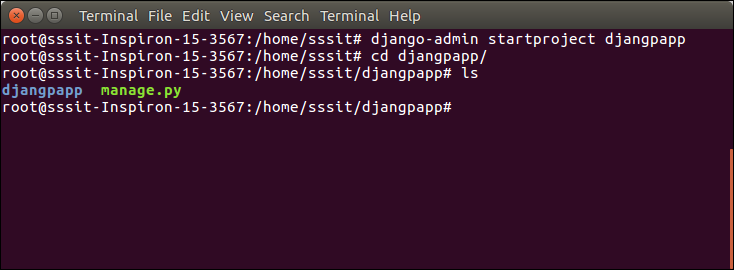
To see all the files and subfolders of django project, we can use tree command to view the tree structure of the application. This is a utility command, if it is not present, can be downloaded via apt-get install tree command.
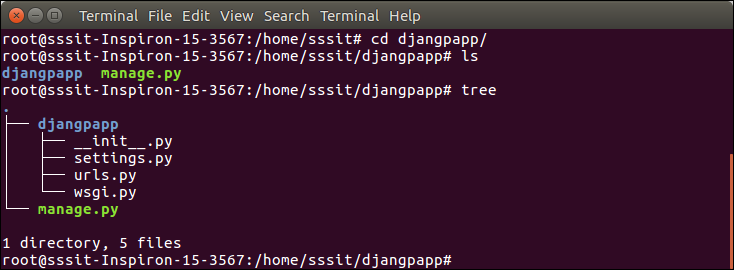
A Django project contains the following packages and files. The outer directory is just a container for the application. We can rename it further.
- manage.py: It is a command-line utility which allows us to interact with the project in various ways and also used to manage an application that we will see later on in this tutorial.
- A directory (djangpapp) located inside, is the actual application package name. Its name is the Python package name which we'll need to use to import module inside the application.
- __init__.py: It is an empty file that tells to the Python that this directory should be considered as a Python package.
- settings.py: This file is used to configure application settings such as database connection, static files linking etc.
- urls.py: This file contains the listed URLs of the application. In this file, we can mention the URLs and corresponding actions to perform the task and display the view.
- wsgi.py: It is an entry-point for WSGI-compatible web servers to serve Django project.
Initially, this project is a default draft which contains all the required files and folders.
Running the Django Project
Django project has a built-in development server which is used to run application instantly without any external web server. It means we don't need of Apache or another web server to run the application in development mode.
To run the application, we can use the following command.
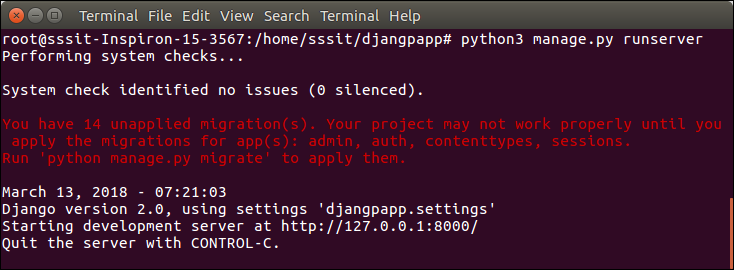
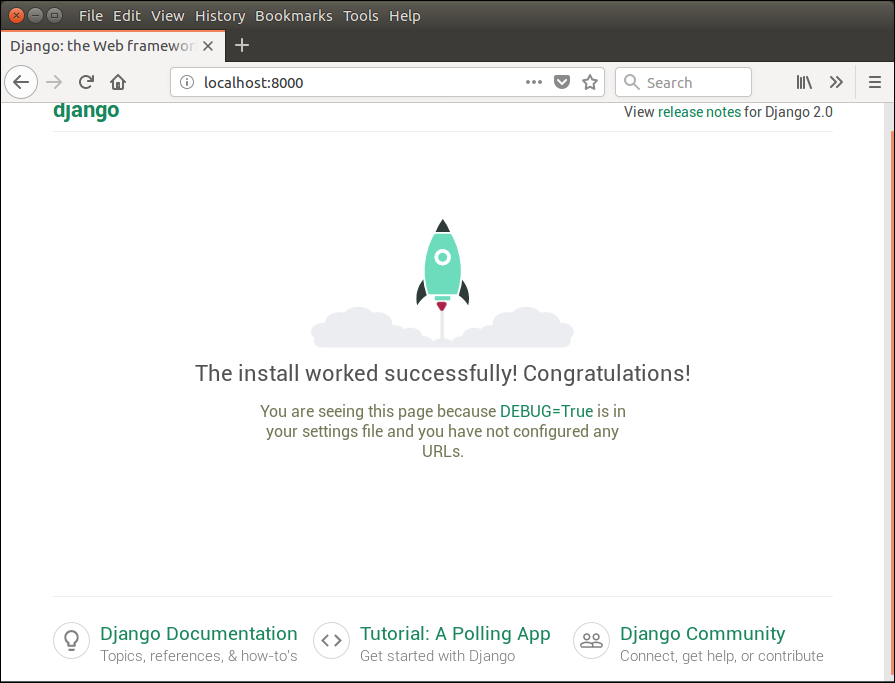
Look server has started and can be accessed at localhost with port 8000. Let's access it using the browser, it looks like the below.

The application is running successfully. Now, we can customize it according to our requirement and can develop a customized web application.
Django Configuration with Apache Web Server
Django uses its built-in development server to run the web application. To start this server, we can use python manage.py runserver command.
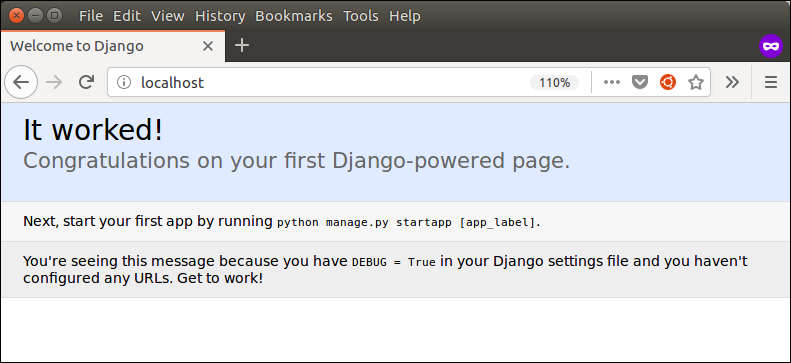
This command starts the server which runs on port 8000 and can be accessed at browser by entering localhost:8000. It shows a welcome page of the application.

And at browser, it can be accessed as below.
But if we want to run our application by using apache server rather than built-in development server, we need to configure apache2.conf file located at /etc/apache directory. Add the following code into this file.
// apache2.conf
After adding these lines, restart apache server by using the service apache2 restart command and then type localhost to the browser's address bar. This time, project will run on apache server rather than a built-in server. See, it shows the home page of the application.

Comments
Post a Comment