Django Templates & Django Static Files Handling & Django Forms
Django Templates
Django provides a convenient way to generate dynamic HTML pages by using its template system.
A template consists of static parts of the desired HTML output as well as some special syntax describing how dynamic content will be inserted.
Why Django Template?
In HTML file, we can't write python code because the code is only interpreted by python interpreter not the browser. We know that HTML is a static markup language, while Python is a dynamic programming language.
Django template engine is used to separate the design from the python code and allows us to build dynamic web pages.
Django Template Configuration
To configure the template system, we have to provide some entries in settings.py file.
Here, we mentioned that our template directory name is templates. By default, DjangoTemplates looks for a templates subdirectory in each of the INSTALLED_APPS.
Django Template Simple Example
First, create a directory templates inside the project app as we did below.
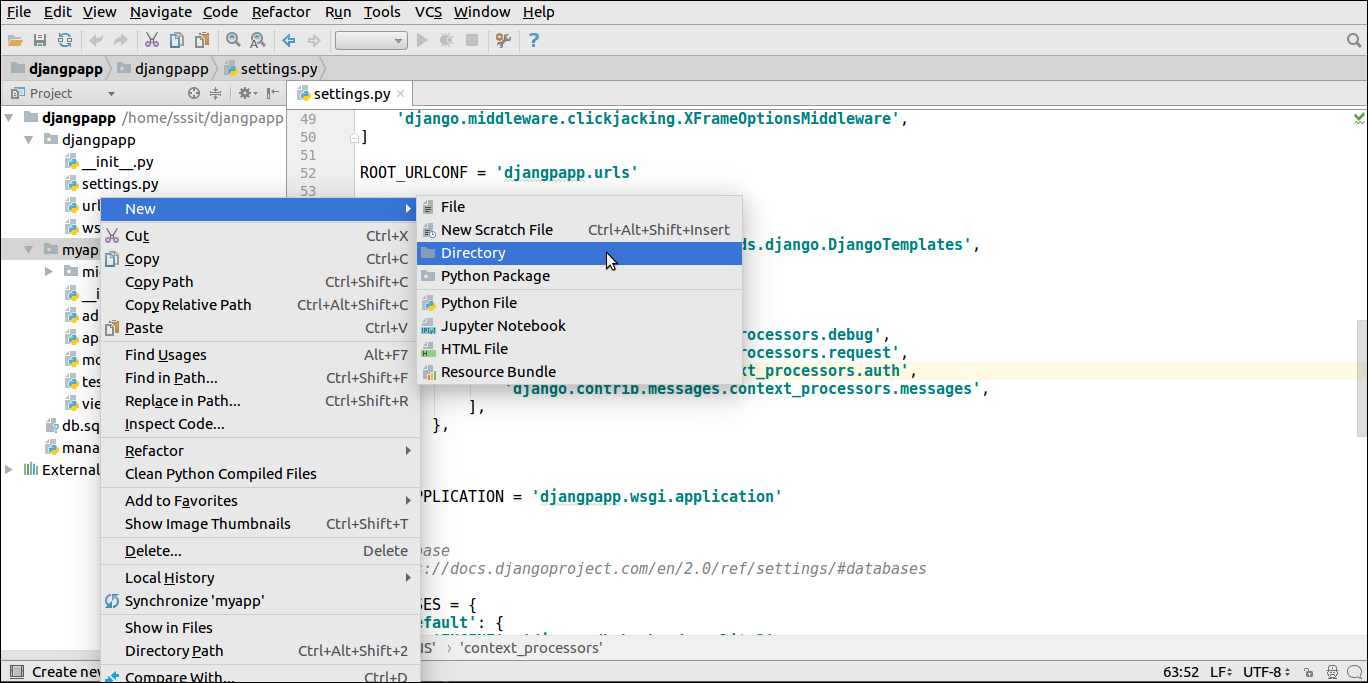
After that create a template index.html inside the created folder.
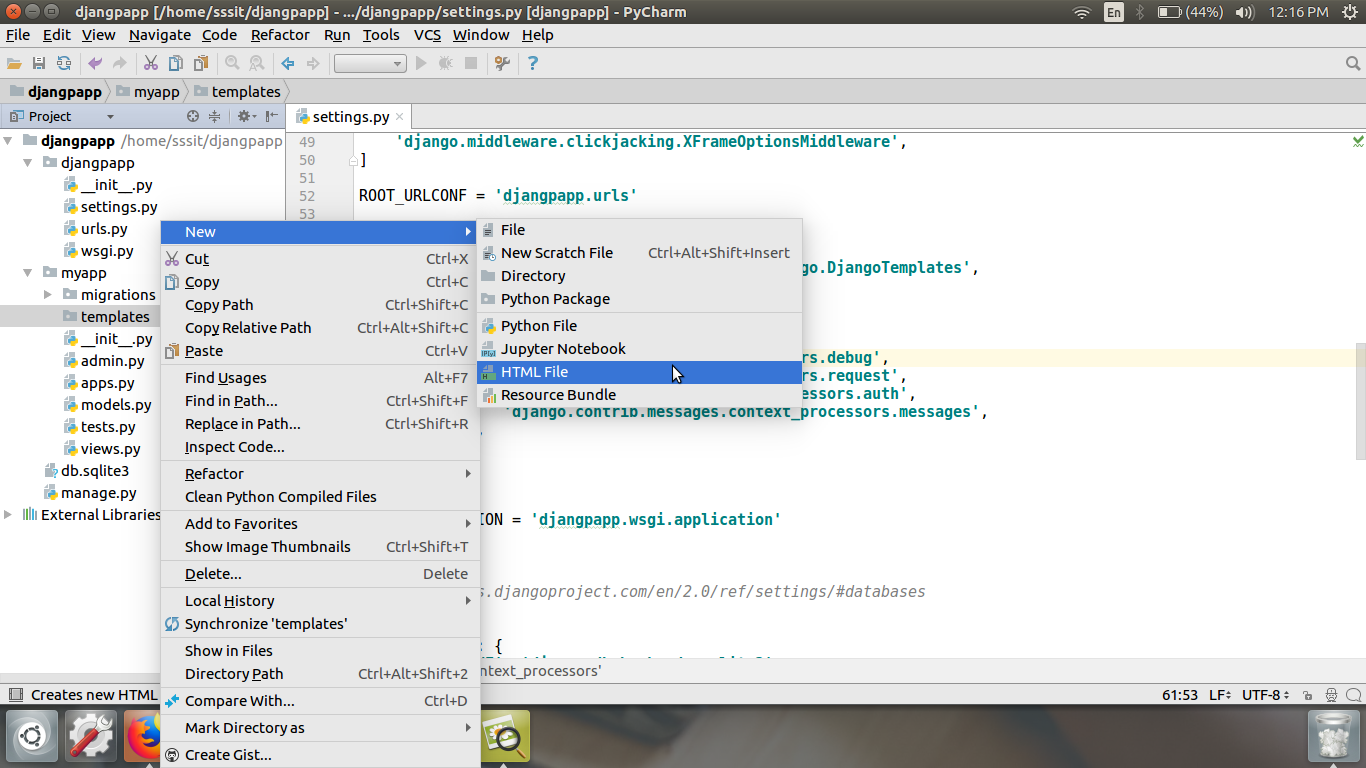
Our template index.html contains the following code.
// index.html
Loading Template
To load the template, call get_template() method as we did below and pass template name.
//views.py
Set a URL to access the template from the browser.
//urls.py
Register app inside the INSTALLED_APPS
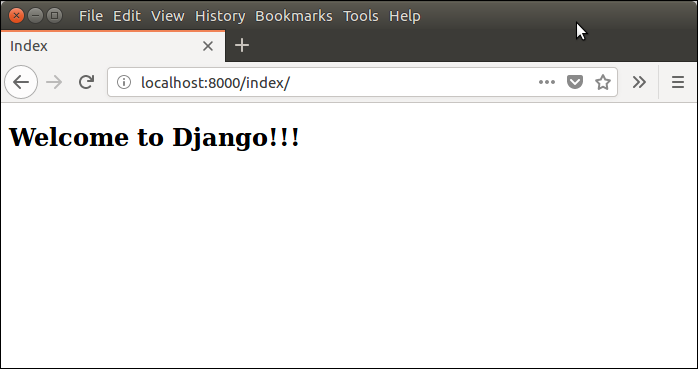
Run Server
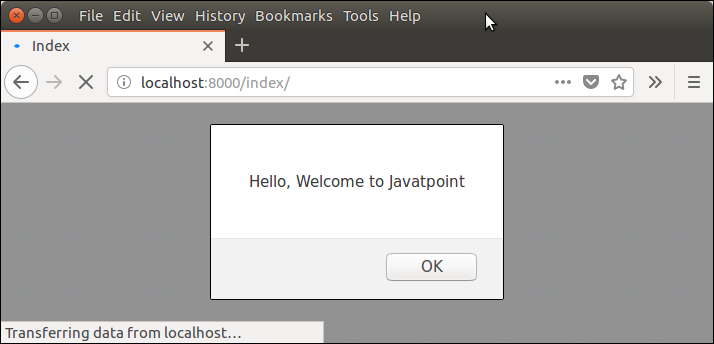
Execute the following command and access the template by entering localhost:8000/index at the browser.
Django Template Language
Django template uses its own syntax to deal with variable, tags, expressions etc. A template is rendered with a context which is used to get value at a web page. See the examples.
Variables
Variables associated with a context can be accessed by {{}} (double curly braces). For example, a variable name value is rahul. Then the following statement will replace name with its value.
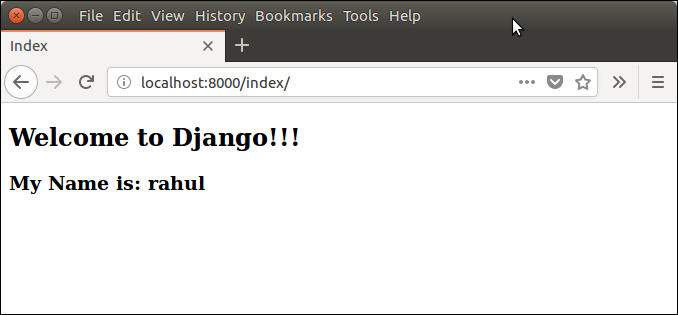
Django Variable Example
//views.py
//index.html
Output:
Tags
In a template, Tags provide arbitrary logic in the rendering process. For example, a tag can output content, serve as a control structure e.g. an "if" statement or a "for" loop, grab content from a database etc.
Tags are surrounded by {% %} braces. For example.
Django Static Files Handling
In a web application, apart from business logic and data handling, we also need to handle and manage static resources like CSS, JavaScript, images etc.
It is important to manage these resources so that it does not affect our application performance.
Django deals with it very efficiently and provides a convenient manner to use resources.
The django.contrib.staticfiles module helps to manage them.
Django Static (CSS, JavaScript, images) Configuration
1. Include the django.contrib.staticfiles in INSTALLED_APPS.
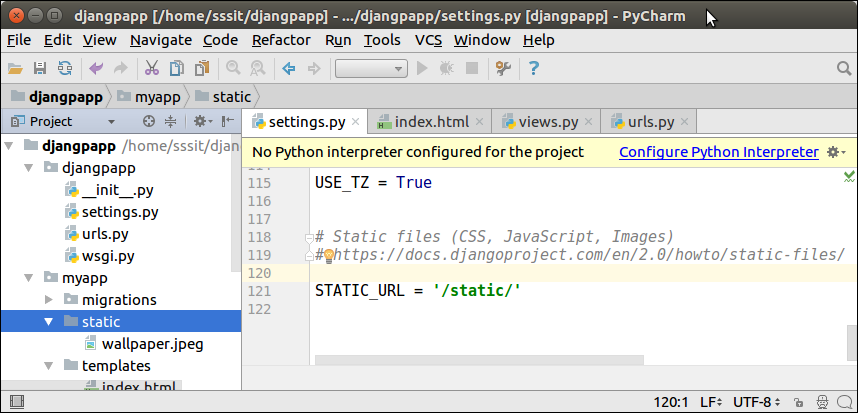
2. Define STATIC_URL in settings.py file as given below.
3. Load static files in the templates by using the below expression.
4. Store all images, JavaScript, CSS files in a static folder of the application. First create a directory static, store the files inside it.
Our project structure looks like this.
Django Image Loading Example
To load an image in a template file, use the code given below.
// index.html
//urls.py
//views.py
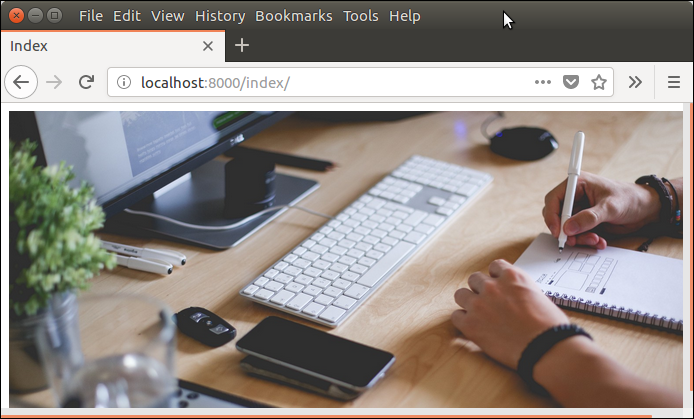
Run the server by using python manage.py runserver command.
After that access the template by localhost:8000/index URL, and it will produce the following output to the browser.
Django Loading JavaScript
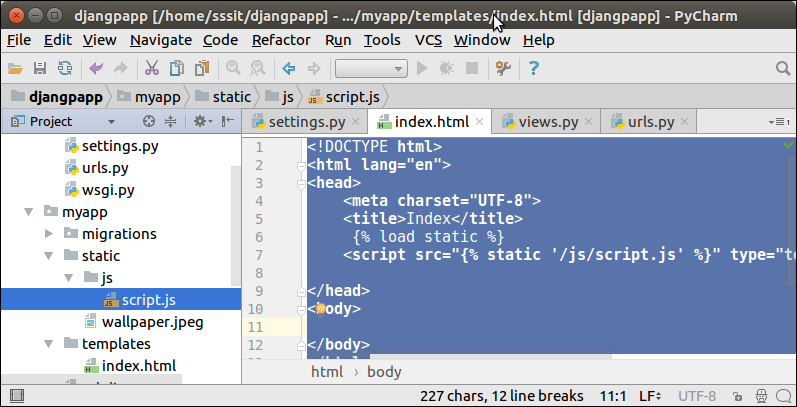
To load JavaScript file, just add the following line of code in index.html file.
// index.html
// script.js
Now, our project structure looks like this:
Run the server by using python manage.py runserver command.
After that access the template by localhost:8000/index URL, and it will produce the following output to the browser.
Django Loading CSS Example
To, load CSS file, use the following code in index.html file.
After that create a directory CSS and file style.css which contains the following code.
// style.css
Our project structure looks like this:
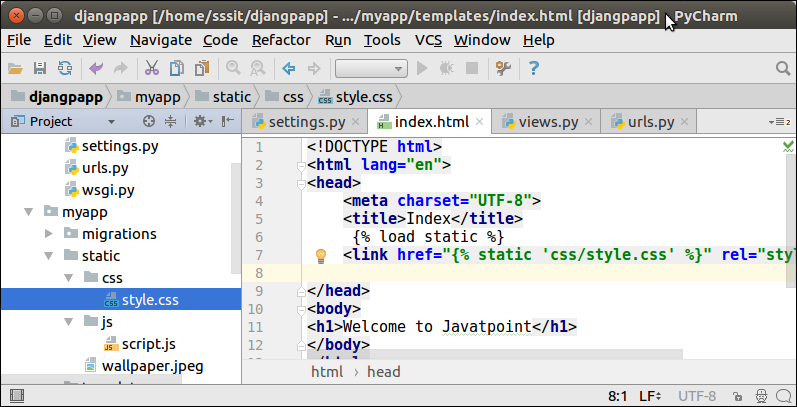
// index.html
Run the server by using python manage.py runserver command.
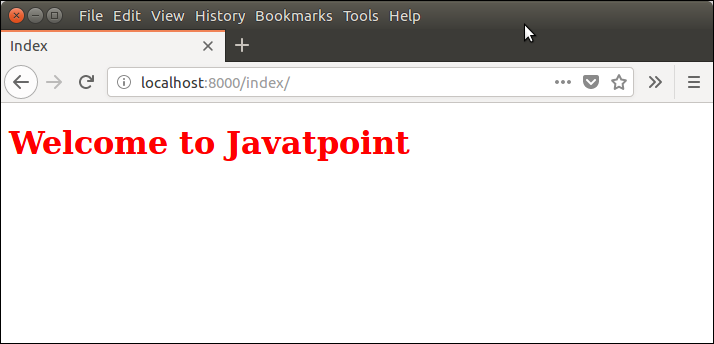
After that access the template by entering localhost:8000/index URL, and it will produce the following output to the browser.
Well, in this topic, we have learned the process of managing static files efficiently.
Django Forms
Django provides a Form class which is used to create HTML forms. It describes a form and how it works and appears.
It is similar to the ModelForm class that creates a form by using the Model, but it does not require the Model.
Each field of the form class map to the HTML form <input> element and each one is a class itself, it manages form data and performs validation while submitting the form.
Lets see an example, in which we are creating some fields too.
A StudentForm is created that contains two fields of CharField type. Charfield is a class and used to create an HTML text input component in the form.
The label is used to set HTML label of the component and max_length sets length of an input value.
When rendered, it produces the following HTML to the browser.
Note: Django Form does not include <form> tags, or a submit button. We'll have to provide those ourselves in the template.
Commonly used fields and their details are given in the below table.
| Name | Class | HTML Input | Empty value |
|---|---|---|---|
| BooleanField | class BooleanField(**kwargs) | CheckboxInput | False |
| CharField | class CharField(**kwargs) | TextInput | Whatever you've given as empty_value. |
| ChoiceField | class ChoiceField(**kwargs) | Select | '' (an empty string) |
| DateField | class DateField(**kwargs) | DateInput | None |
| DateTimeField | class DateTimeField(**kwargs) | DateTimeInput | None |
| DecimalField | class DecimalField(**kwargs) | NumberInput | None |
| EmailField | class EmailField(**kwargs) | EmailInput | '' (an empty string) |
| FileField | class FileField(**kwargs) | ClearableFileInput | None |
| ImageField | class ImageField(**kwargs) | ClearableFileInput | None |
Let's see a complete example to create an HTML form with the help of Django Form class.
Building a Form in Django
Suppose we want to create a form to get Student information, use the following code.
Put this code into the forms.py file.
Instantiating Form in Django
Now, we need to instantiate the form in views.py file. See, the below code.
// views.py
Passing the context of form into index template that looks like this:
// index.html
Provide the URL in urls.py
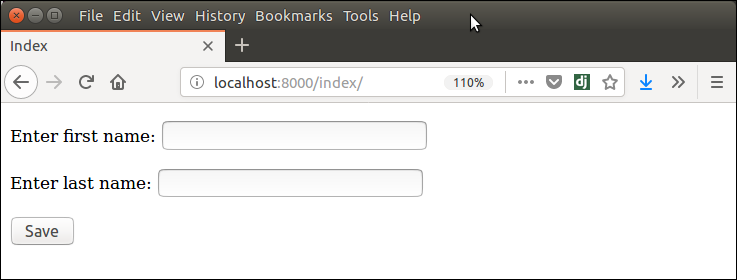
Run Server and access the form at browser by localhost:8000/index, and it will produce the following output.
There are other output options though for the <label>/<input> pairs:
- {{ form.as_table }} will render them as table cells wrapped in <tr> tags
- {{ form.as_p }} will render them wrapped in <p> tags
- {{ form.as_ul }} will render them wrapped in <li> tags
Comments
Post a Comment